Sunday, January 26, 2014

A Clever Little Finishing Trick

Do you want to know a little trick on how to stuff those pesky pillow corners?  

I will show you in this Pillow Ornament Tutorial....


1) Stitched Design, Backing, Trim Hanger, Fiberfill


Take care to make sure that the front and back are accurately cut.  This will affect how good it looks when stuffed.

2) Position the hanger and machine baste in place


3) Pin front and back ~ right sides together


4) Pull four small pieces of fiberfill, one for each corner


I like to use Fairfield 100% Premium Polyester Fiberfill.  It has a smooth consistency with no lumps and can be used for all types of crafts.

5) Start at bottom and stitch around the pillow, 
stitching over the fiberfill in each corner. 


Pivot at the corner and continue stitching.
Be sure to leave an opening at the bottom for turning/stuffing


It is important that you are consistent with your seam allowance (I like to use 1/4" SA). This gets tricky when stitching through the fiberfill because the seam allowance is less visible. Slow down at the corners and, if need be, use a stylus to manipulate the fiberfill so that you are able to see the seam guide.  

6) Your pillow should look something like this


7) Press seam allowance at the opening
(this makes hand stitching the closure easier)


8) Turn right side out


9) Place pillow face down on a thick white towel and press.


10) Stuff and hand stitch opening closed.


Stuff from the top down using small amounts of fiberfill.  I start by pulling or *fluffing* the fiberfill 2-3 times prior to inserting it into the pillow.  Use your hand to smooth the stuffed area as you work, this helps minimize lumps. If you tend to stuff firmly, like I do, then care must be taken not to distort the overall shape.

To close the opening I use matching thread and hand stitch it closed using the Ladder Stitch.

There you have it.  The corners look full and the stuffing will not slip out!

Until next time... 

Saturday, January 18, 2014

Stitching and Snapping

Yes, I have been busy stitching and snapping, snapping pictures that is.   I received this:

Cannon Rebel T3
for Christmas.  

I have seen so many gorgeous pictures on various blogs, which prompted me to seek out a new camera. My sons, knowing that I know very little about photography, gave me private lessons with a local photographer ~ more about that later. 

Let's start with the stitching...Kate R received the HOE Halloween #2 ornament that I stitched:

Designer: Chessie & Me
Design from: Double, Double Toil & Trouble
Stitched for: Kate R.

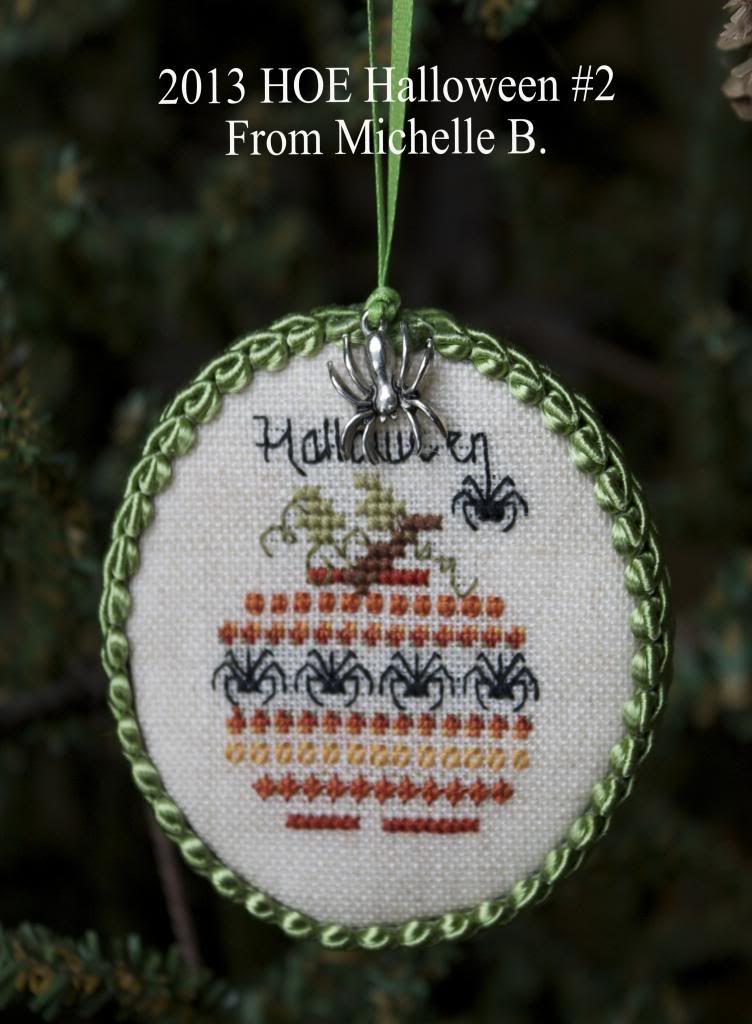
And the ornament that Michelle B. stitched for me arrived:

Designer: Jeannette Douglas
Design from JCS
Stitched by: Michelle B.

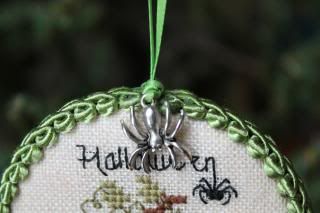
It is wonderful, don’t you think?  Michelle's stitching and finishing are impeccable! Take a look at the cute spider charm.


I love it!  This is a great addition to me year round Halloween tree.  

Michelle, Thanks again for making this an extra special exchange.

Okay, on to my snapping. I began my photo lessons with a wonderfully talented photographer, Les Jorgensen.  My 1st session included a lesson on lighting and my homework was a bit of a scavenger hunt ~ I was to photograph 13 scenes/images:

A bright, a dark
A back lit, a side lit, a front lit
A photo with contrast and without
Dull object in specular light and glossy object
Dull object in diffuse light and glossy
A photo in warm light and cool light 

I shall not bore you with all of the images but I will share with you two that Les was impressed with.  The first was my "Cool Light" image:

2014 Drew

The second was my "Back Lit" image:

January 2014 Vermont


Hopefully, with the help of Les, my Blog pics will look a little nicer ~ Hmmm, is that possible?


Thanks for stopping by and...

Until Next time ~ remember:

Throw back the shoulders, let the heart sing, let the eyes flash, let the mind be lifted up, look upward and say to yourself... 
Nothing is impossible!
~Norman Vincent Pearl